Overview
After much feedback and critique on my trash can, I decided to take another pass at recreating a real world object from around my college campus. This time, I simulated what it was like to make a game ready asset.
Modeled in Blender, textured in Substance Painter.
One week process.


Real-life references
Let’s Talk Texturing
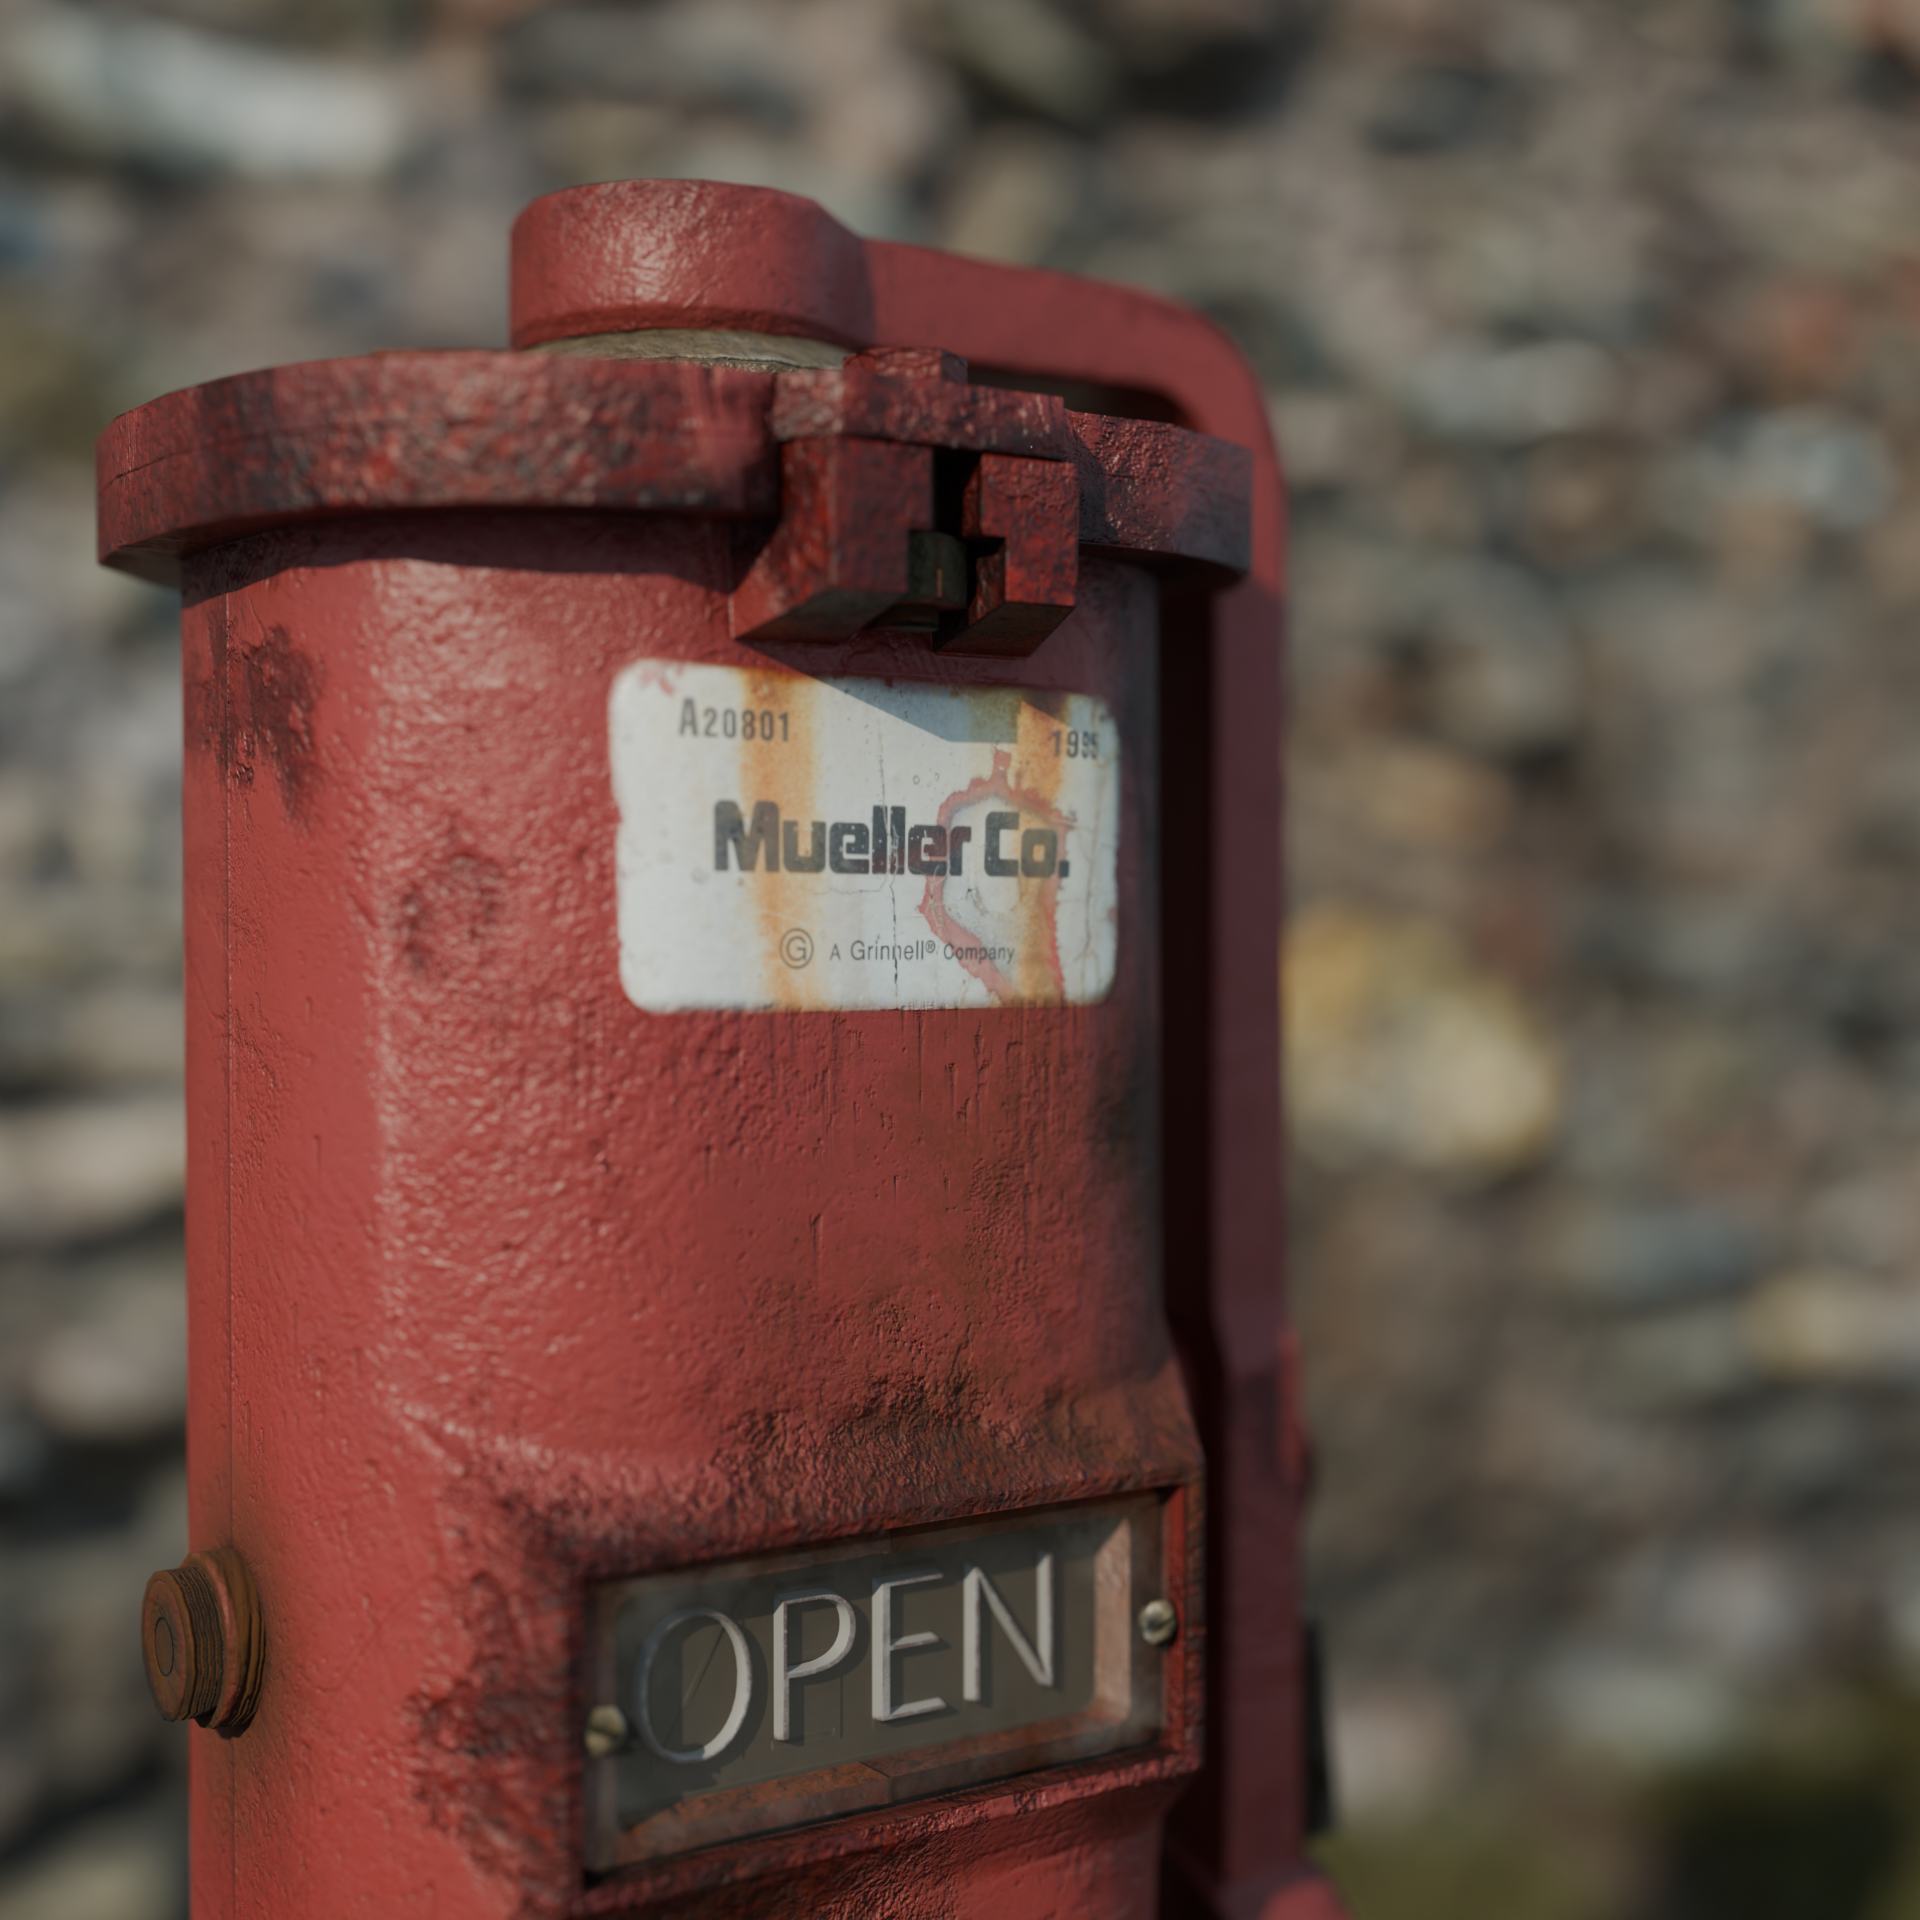
I wanted to focus on how game artists use texturing to add the illusion of extra fidelity. I took this as an opporitunity to introduce texture baking into my workflow.
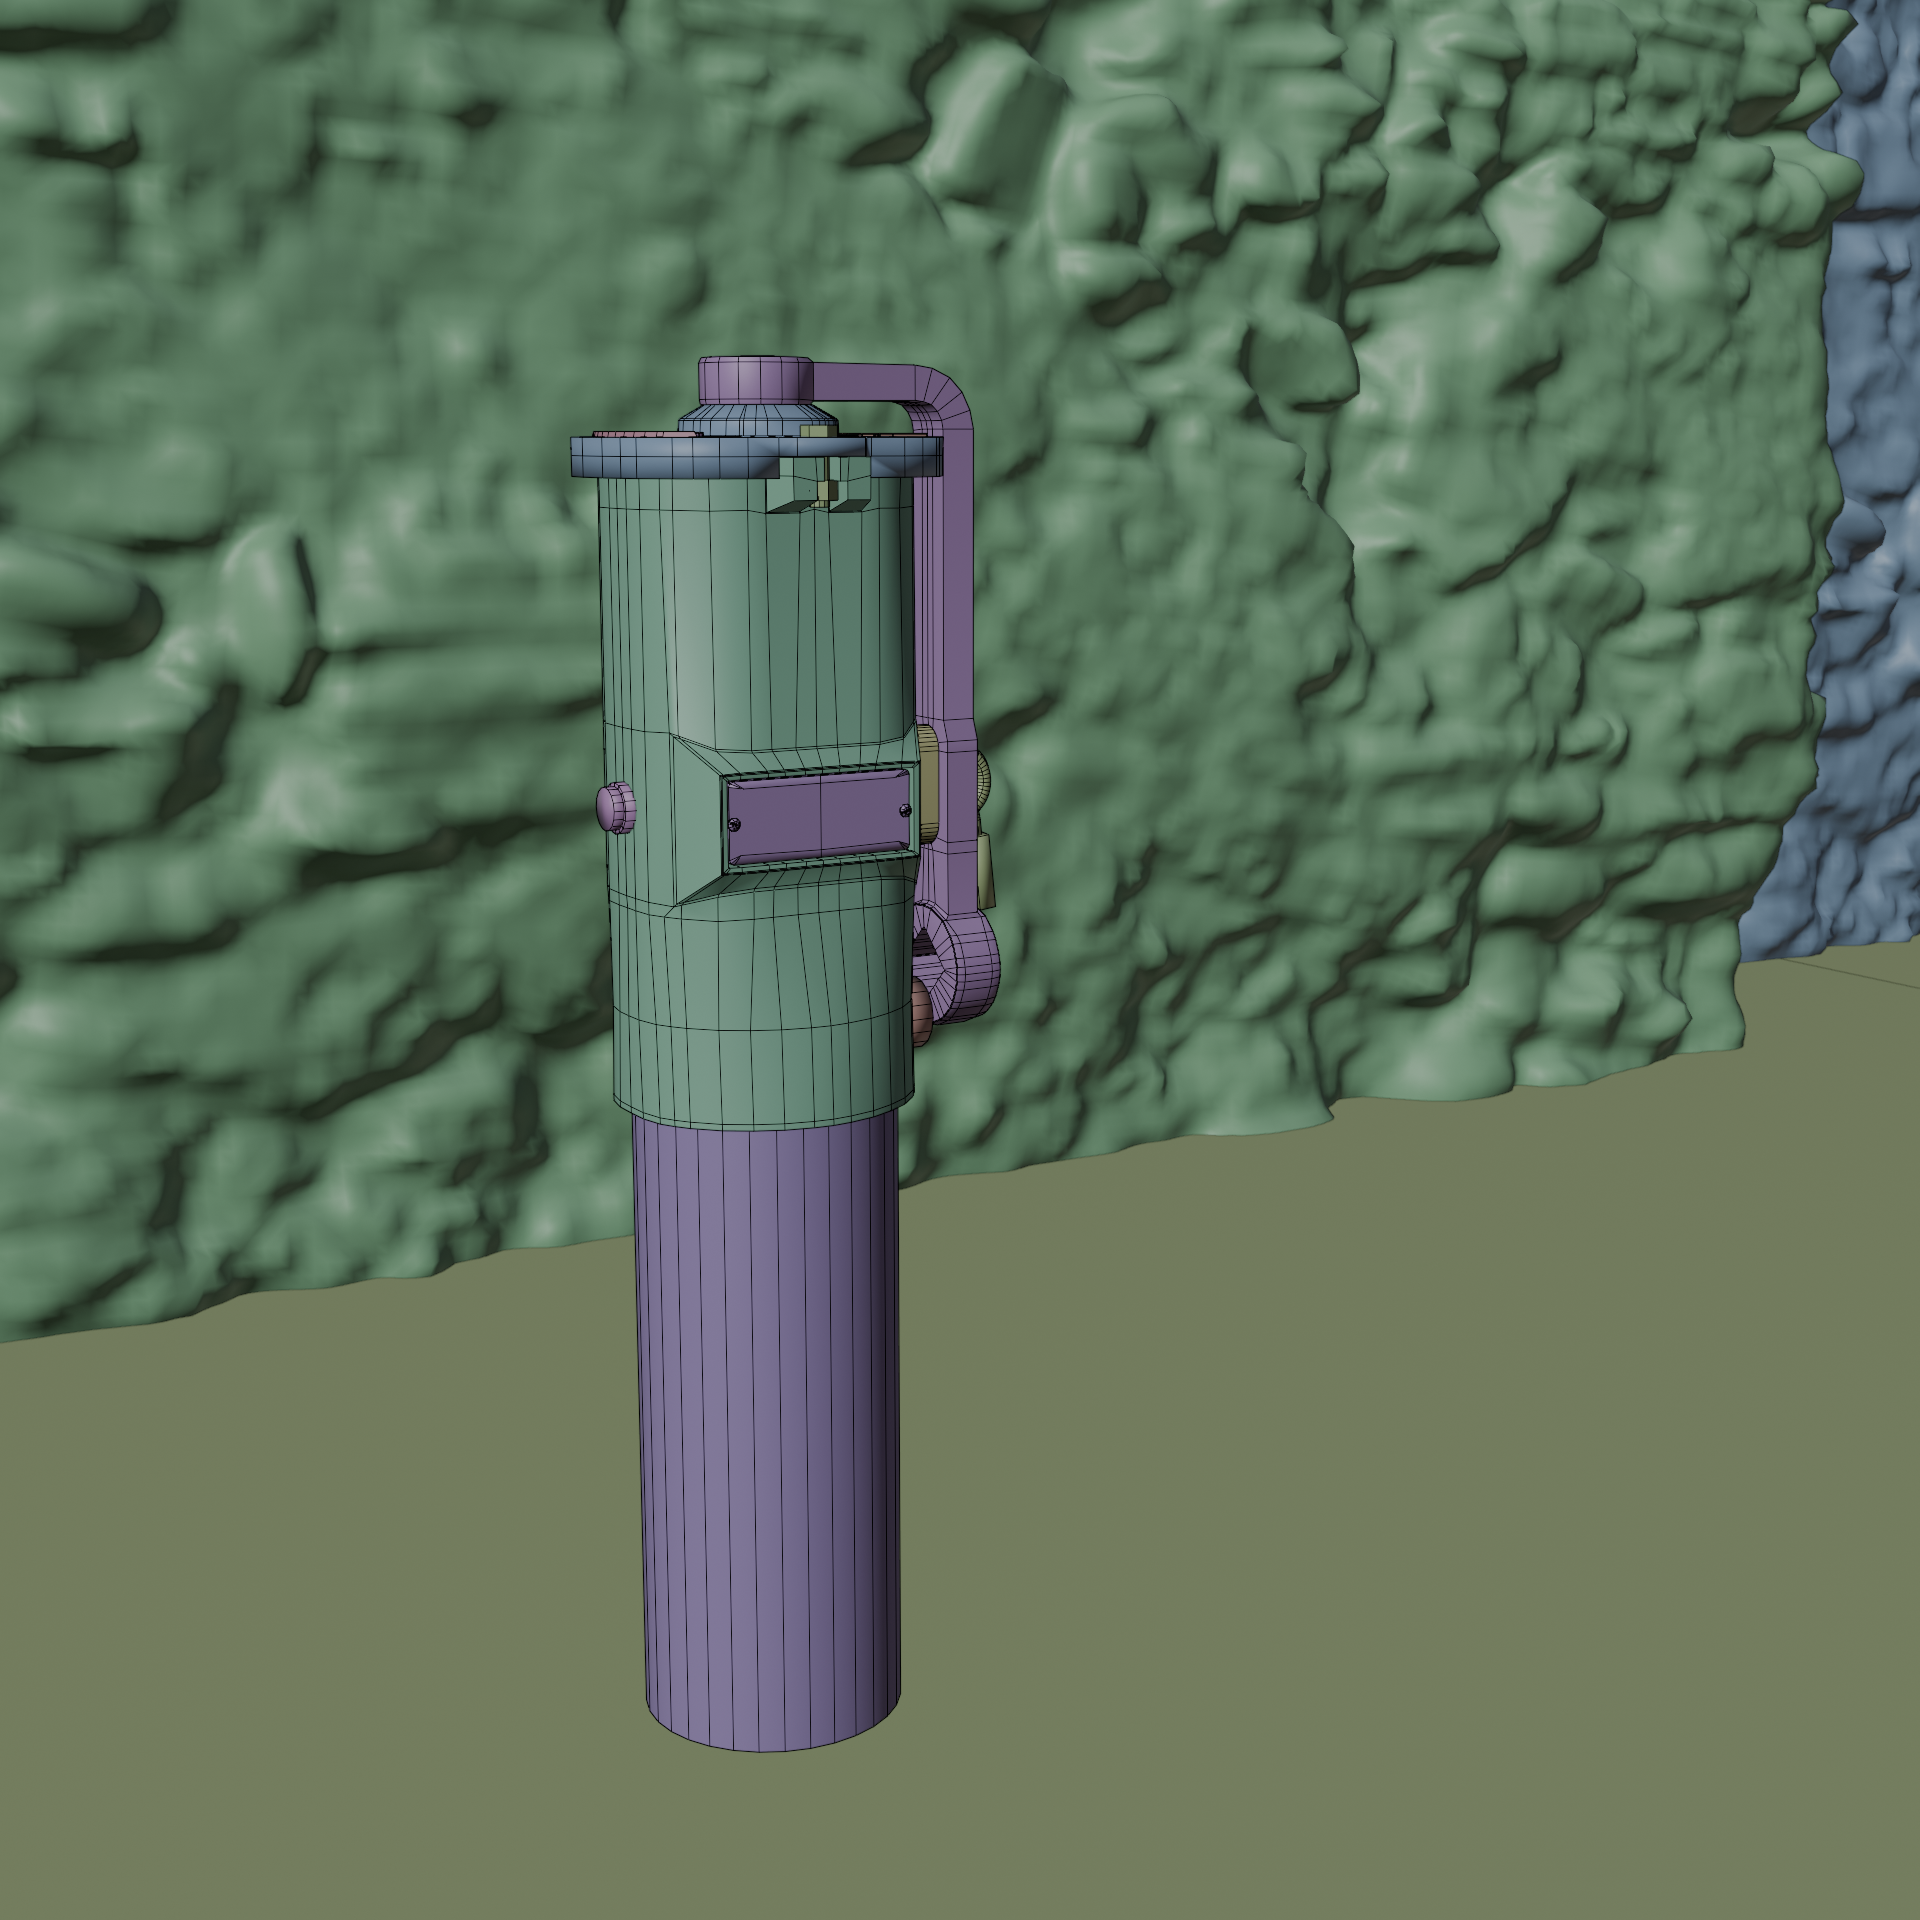
I created a high poly, high detail asset, and then reduced it down into a low poly form. This allowed me to take the normal data of the high poly asset and map it to the low poly one, creating the illusion of curved geometry.
In addition, I learned a technique of utilizing different color channels in textures to pack more data into the same asset, reducing storage. This is shown in the Occlusion Roughness Metallic textures below.
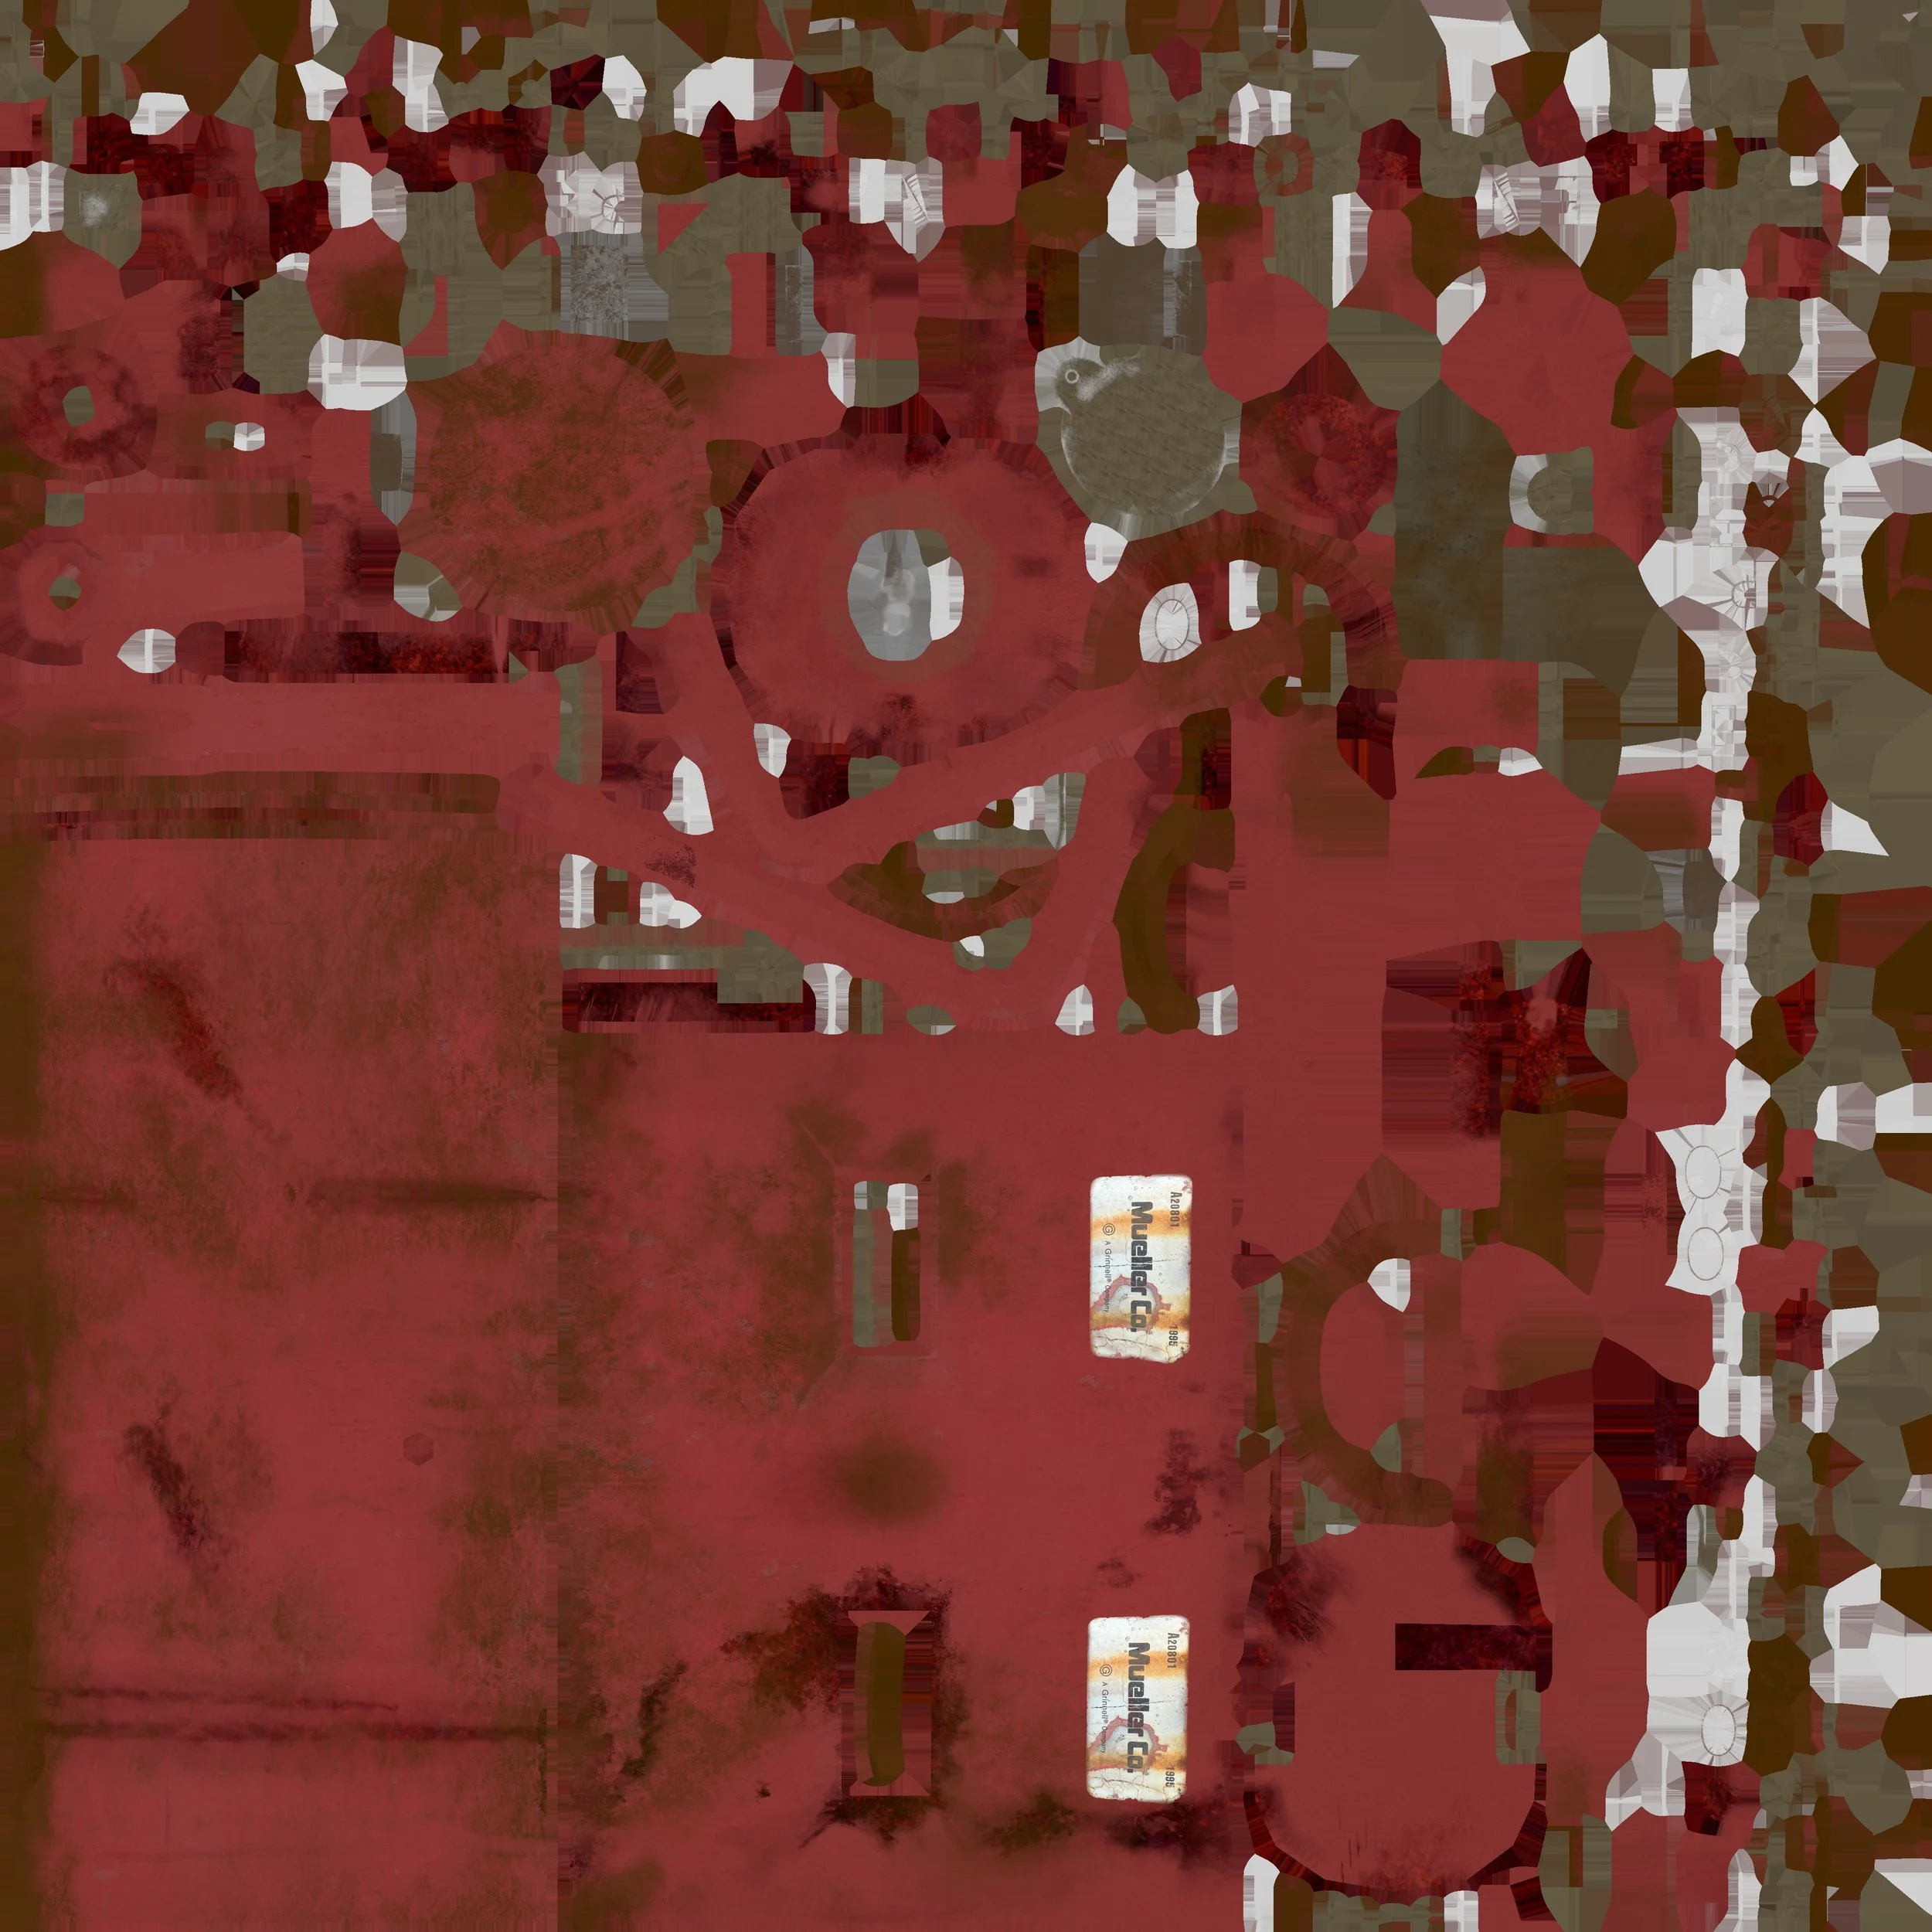
BaseColor (Main)
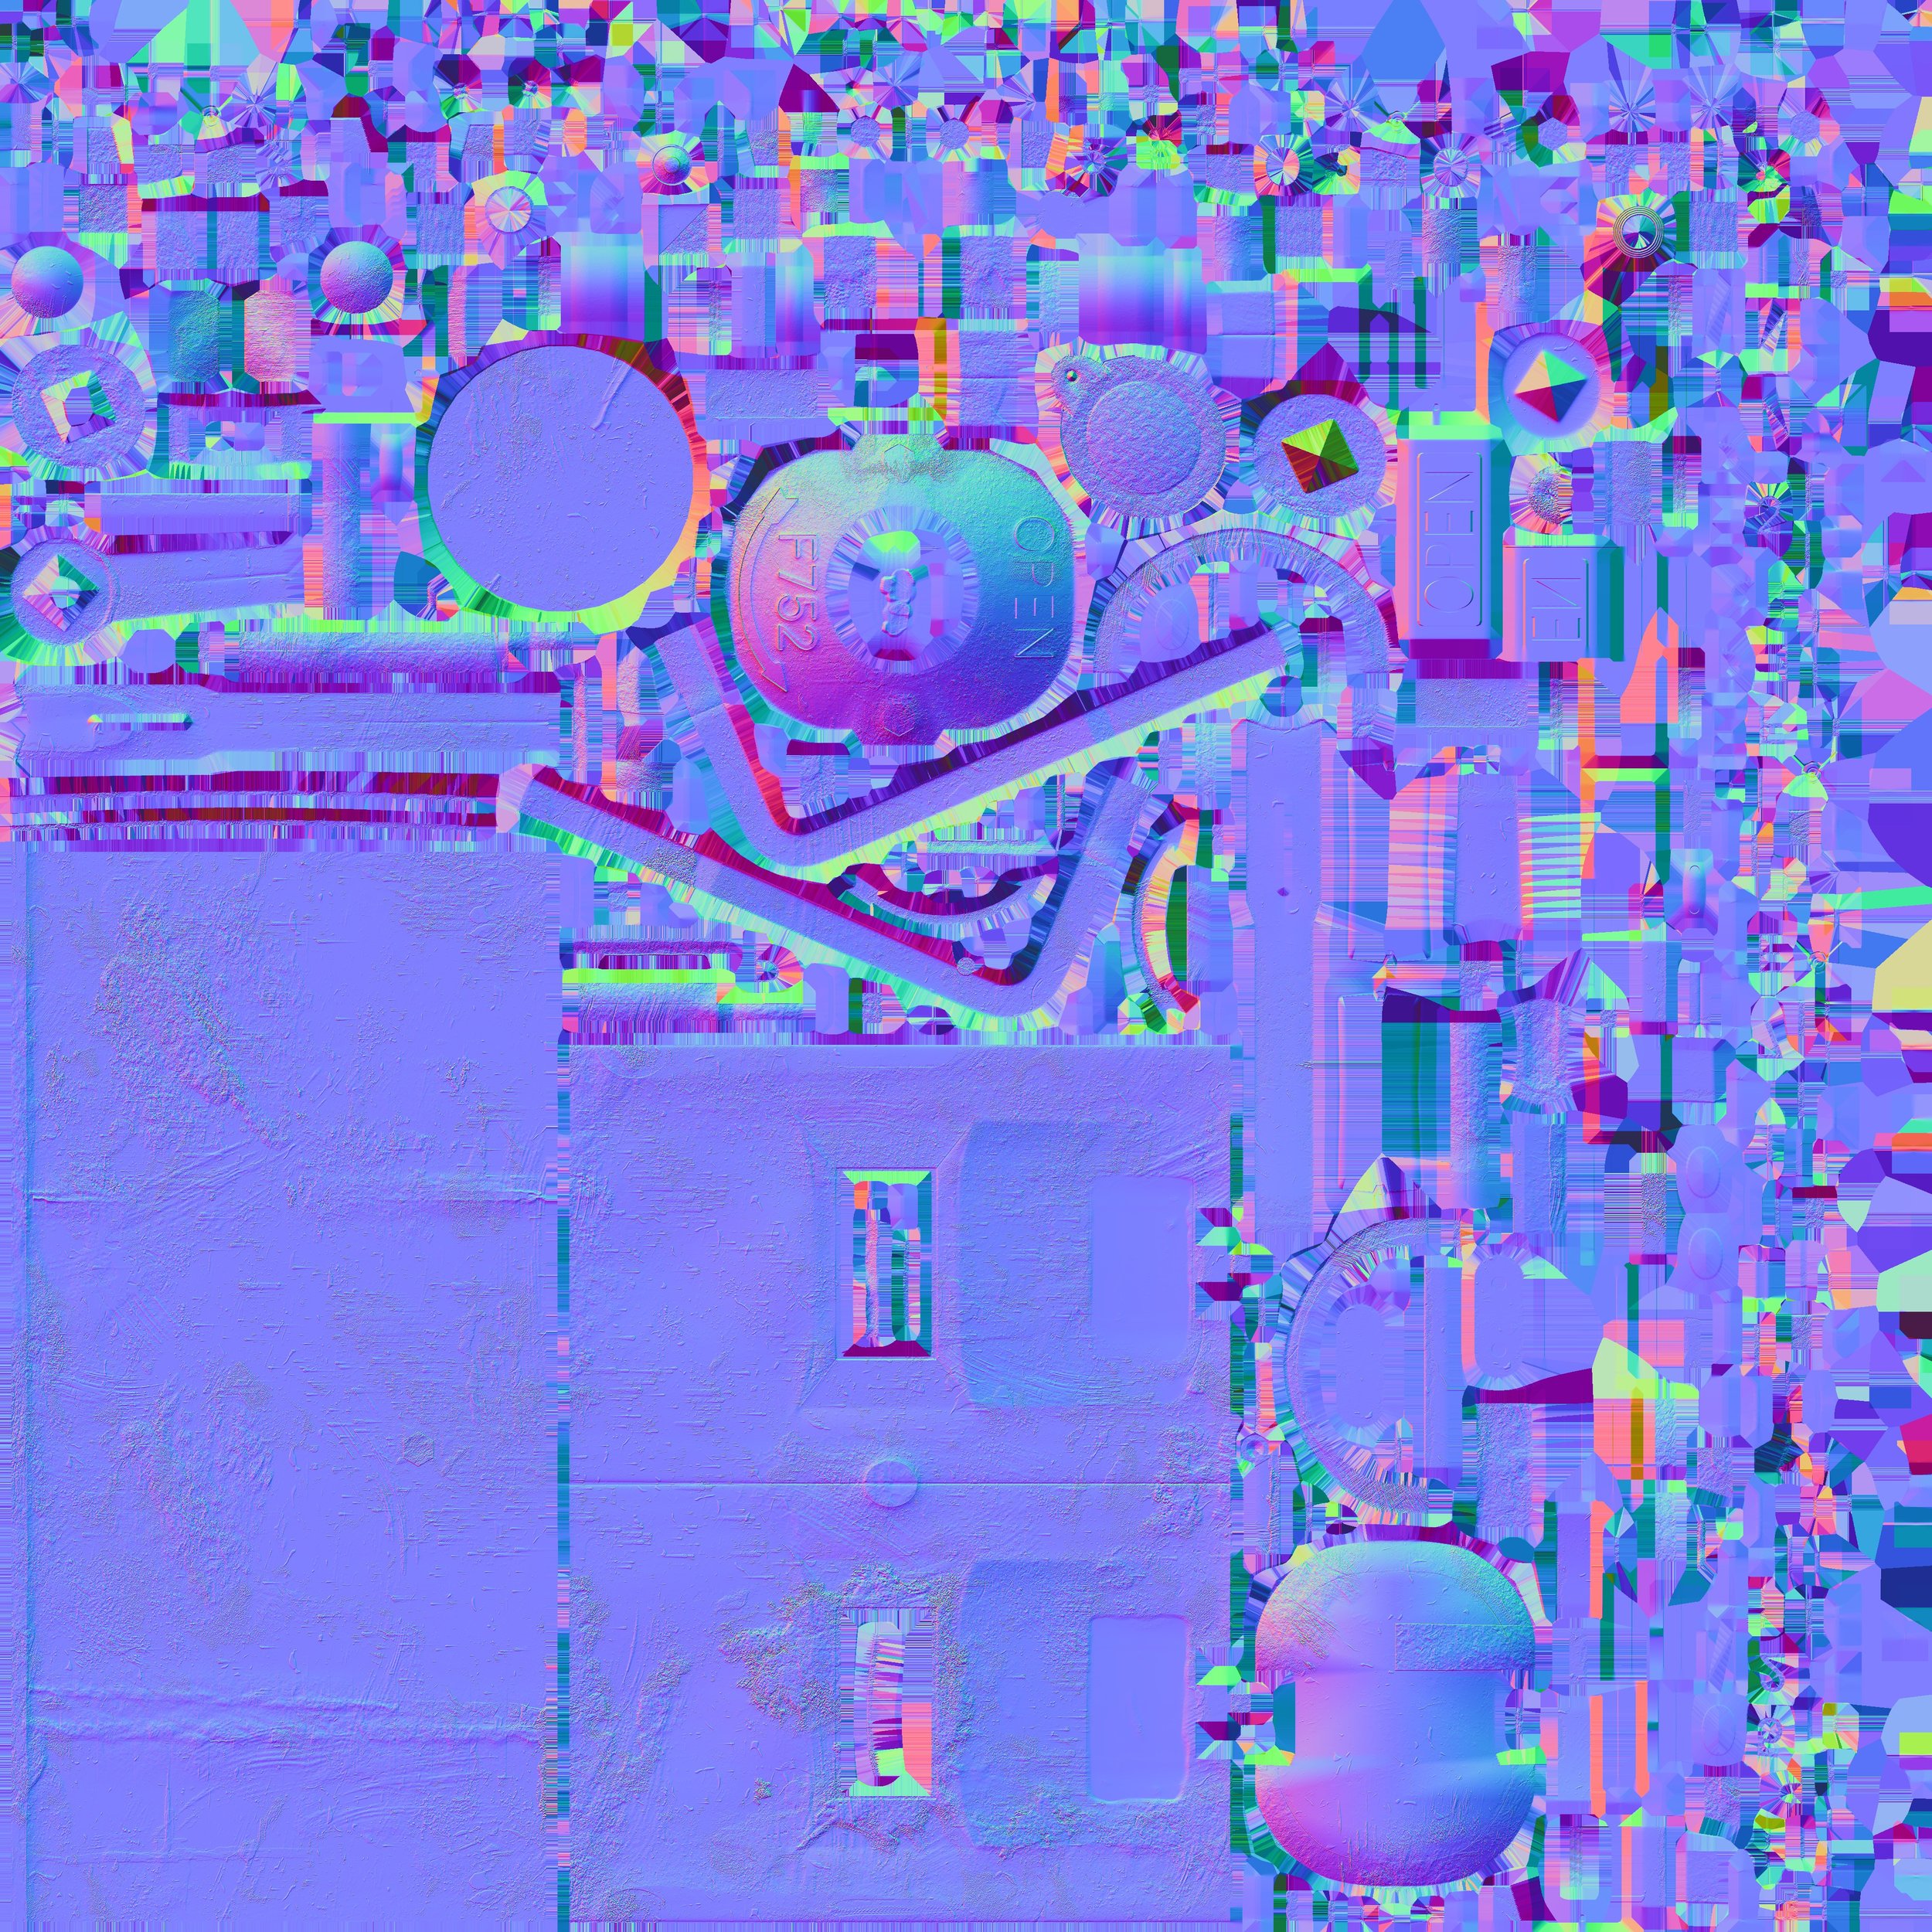
Normal (Main)

OcclusionRoughnessMetallic (Main)

Basecolor (Glass)

Normal (Glass)

OcclusionRoughnessMetallic (Glass)
…and now topology
I was focused on keeping more quads with less thin stretches. I found it useful to utilize that type of topology in places where pinching was required. I also broke down my model into separate objects to reduce the amount of unnecessary edge loops. In hindsight, doing this was obvious, but the difference this made was game changing for me.
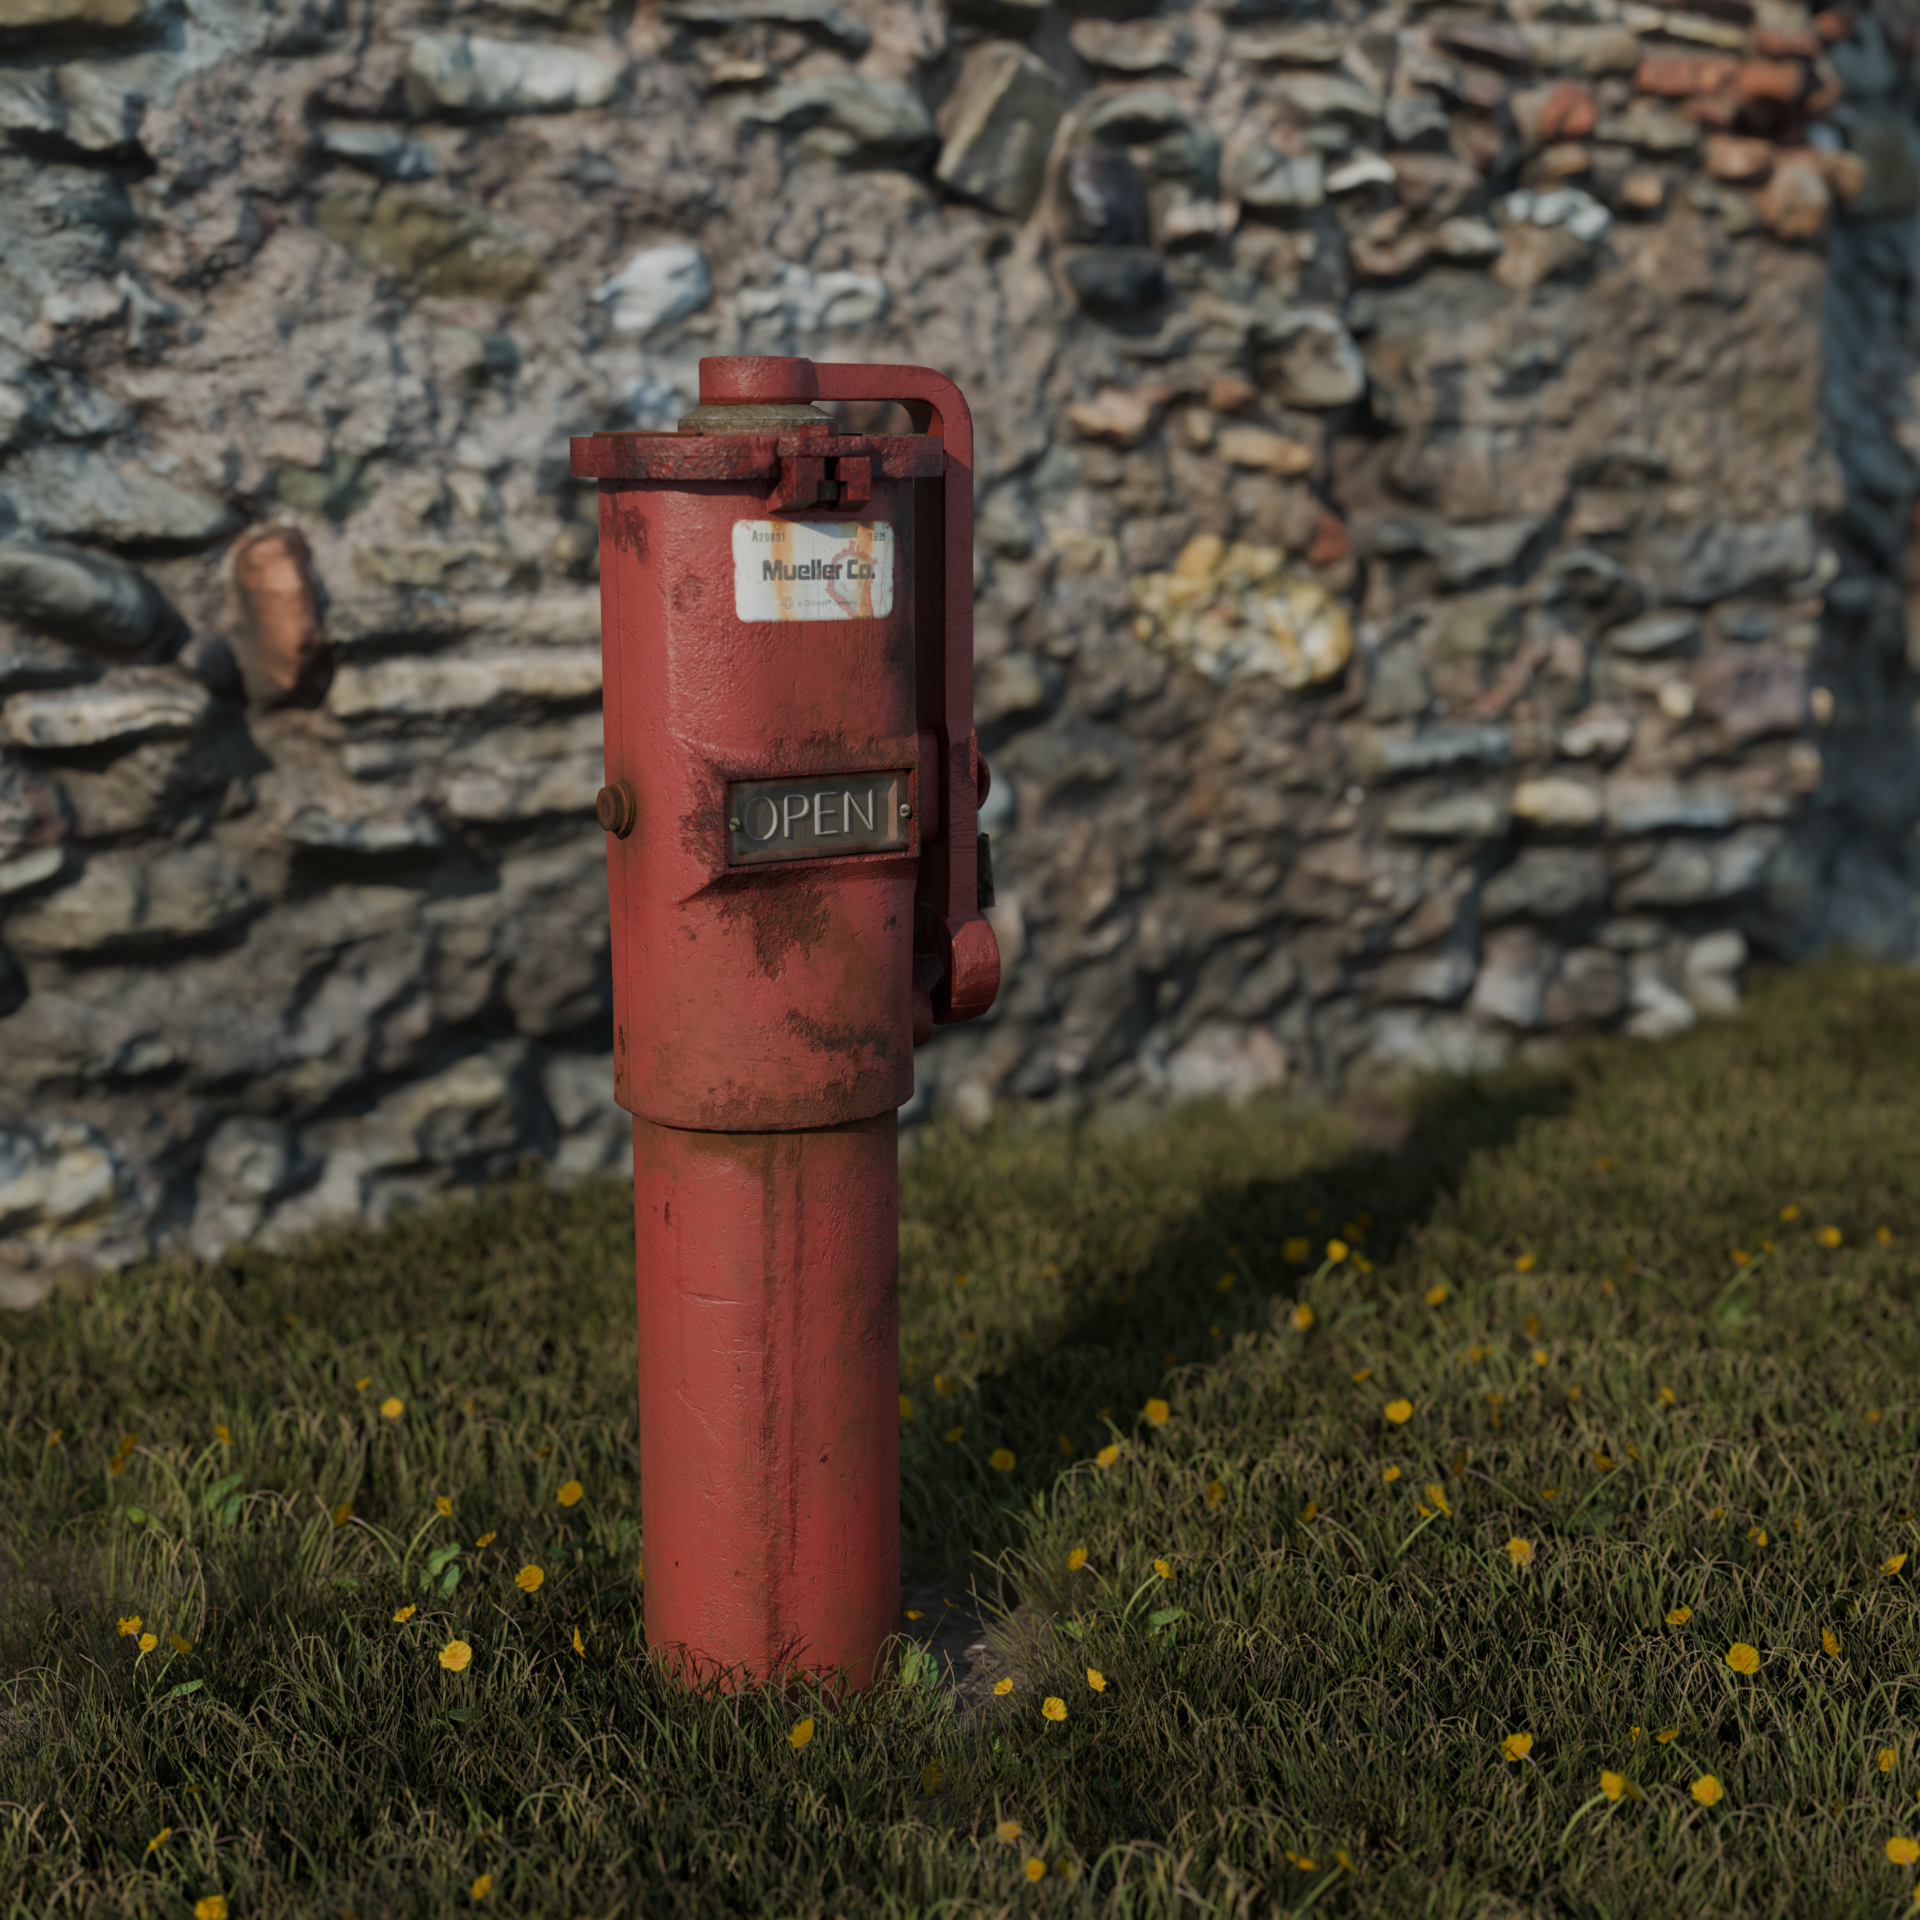
Overall, these new methods led to more control over how light reflected off of the mesh. Understanding how subdivision worked and how normals are calculated really deepened my knowledge on the creation of 3D models and the amount of control I have on the final product.
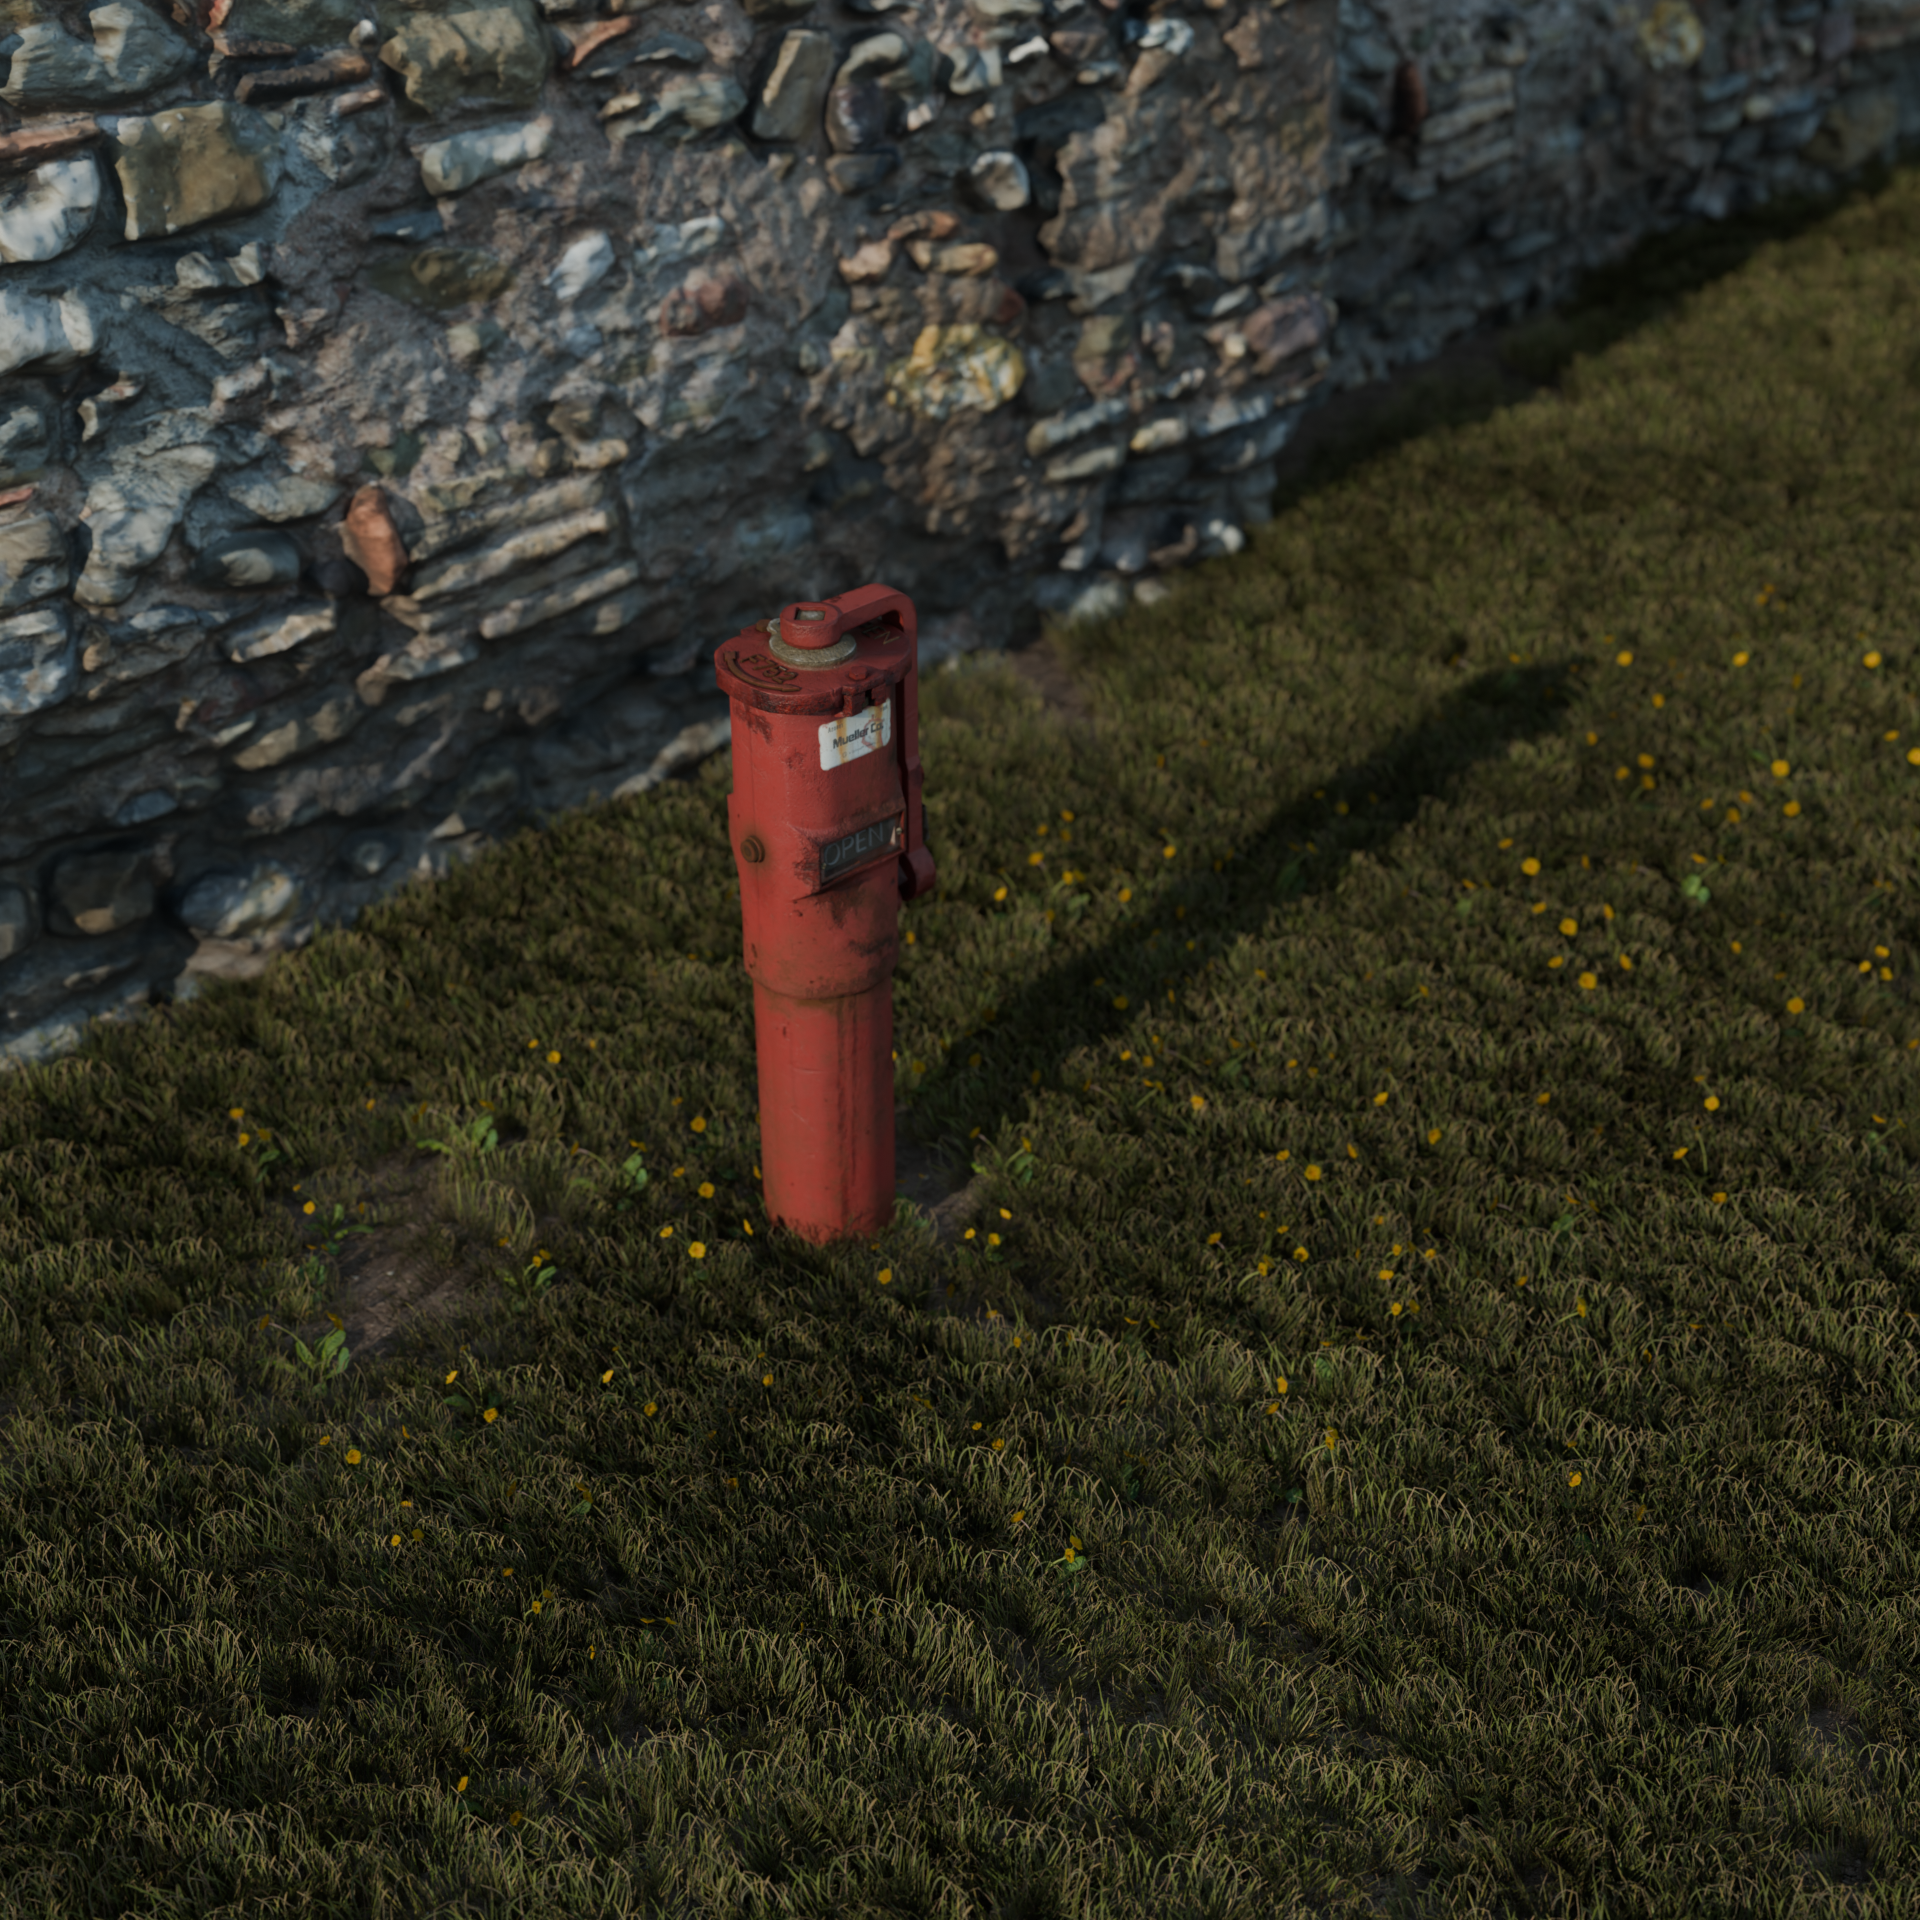
I still have some areas to improve in, such as getting edge loops just right, where to add and reduce detail, and still getting some normals to agree with me.